A few years ago, the term ‘zoom’ had two meanings: the sound of something moving quickly or the act of enlarging an image on a smartphone. Today, the word has gained a new definition thanks to the popular web conferencing software called Zoom.
This platform has become a global sensation, especially among remote workers, and has been praised by Forbes as the “Best in Class for Video Conferencing.”
During the COVID-19 pandemic, Zoom played a significant role in helping people cope with the sudden shutdowns. Although this software has been a game-changer for many, it does have its limitations, such as the features it offers and some more general limitations.
Zoom Limitations
No one is perfect, so we can not say that technology has achieved perfection. Zoom also has some limitations. There is a number of limitations that are worth noting:
- Let’s start with the numbers. So, with free Pro Zoom accounts, you can only have up to 100 people join your meeting. But, if you have a paid Business account, you can bump that up to 300 people, and if you have an Enterprise account, you can have up to 500 people join your meeting.
But, the catch is that if everyone is on their device, Zoom will only let additional people join the meeting. So, while it’s great for smaller group meetings, it could be better for larger meetings or webinars. This is incredibly frustrating if you have a lot of people you need to talk to, and you want to make sure everyone gets a chance to speak, but time isn’t on your side – which brings us to the next point.
- Zoom can be tricky when it comes to hosting webinars. The number of webinars you can host depends on your account type: Zoom Webinar or Zoom Events. These accounts differ from other Zoom accounts or the Large Meetings add-on, which costs at least $67 monthly.
Zoom Webinar’s base package offers many features, such as unlimited webinar sessions lasting up to 30 hours each. You can also brand your Zoom Webinar with a custom background and control over virtual speaker backgrounds. Additionally, you can export registrant and attendee lists, integrate with CRM and marketing automation tools, monetize your webinar through paid registration, live stream your webinar to third-party platforms, record your webinar to the Zoom cloud, and access post-session reporting. This all sounds great, but there is one thing you need to keep in mind: the cost.
The lowest tier plan starts at $106 per month for 500 participants. If you plan to host 1,000 people on your webinar, you’ll have to upgrade to a higher package, costing $452 per month. Unfortunately, navigating these plans and pricing can be a downside to the new Zoom, as they offer a more complex range of offerings.
- Have you ever been on a recorded Zoom meeting and heard the host mention that the recording would be saved in the cloud? If so, you might be interested to know about the cloud storage limits on Zoom.
- You don’t get access to any cloud storage with free basic plans. However, Pro plans and Business licenses provide 1 GB of cloud storage. To give you an idea of what that means, one hour of 720p video requires about 1 GB of storage. In contrast, Enterprise accounts have unlimited cloud storage.
- Zoom’s Gallery View is a layout that shows the maximum number of participants in a grid across the user’s screen. However, the number of participants that can be seen varies depending on the device used. Desktop Zoom users are limited to seeing 49 participants, while mobile users can only see 4. iPad users, on the other hand, can view up to 9 participants, and Zoom Rooms users can see up to 25.
How to enable local recording
To activate or deactivate local screen recording for all users in the account, an administrator with authority to modify account settings must sign in to the Zoom web portal.
They should select “Account Management” and “Account Settings” from the navigation menu.
They should then click the “Recording” tab and enable or disable the “Local Recording” toggle. If prompted to verify the change, they should click “Enable” or “Disable.” They may also select additional features to enable or disable and click “Save.” To make this setting mandatory for all users in the account, the administrator should click the lock icon and confirm the setting.
To enable or disable local recording for a group of users, an administrator with the privilege to modify user groups must sign in to the Zoom web portal. They should then select “User Management” followed by “Groups” from the navigation menu and click the relevant group name from the list.
After clicking the “Recording” tab, they should enable or disable the “Local Recording” toggle. If prompted to verify the change, they should click “Enable” or “Disable.” They may also select additional features to enable or disable and click “Save.” To make this setting mandatory for all users in the group, the administrator should click the lock icon and confirm the setting.
To enable or disable local recording for personal use, sign in to the Zoom web portal and click “Settings” in the navigation menu.
Click the “Recording” tab and enable or disable the “Local Recording” toggle. If prompted to verify the change, click “Turn On.” If the option is grayed out, it has been locked at either the group or account level, and you will need to contact your Zoom administrator. You may also select additional features to enable or disable and click “Save.” This will ensure that the screen recording is performed, or use Sembly to record your meetings.
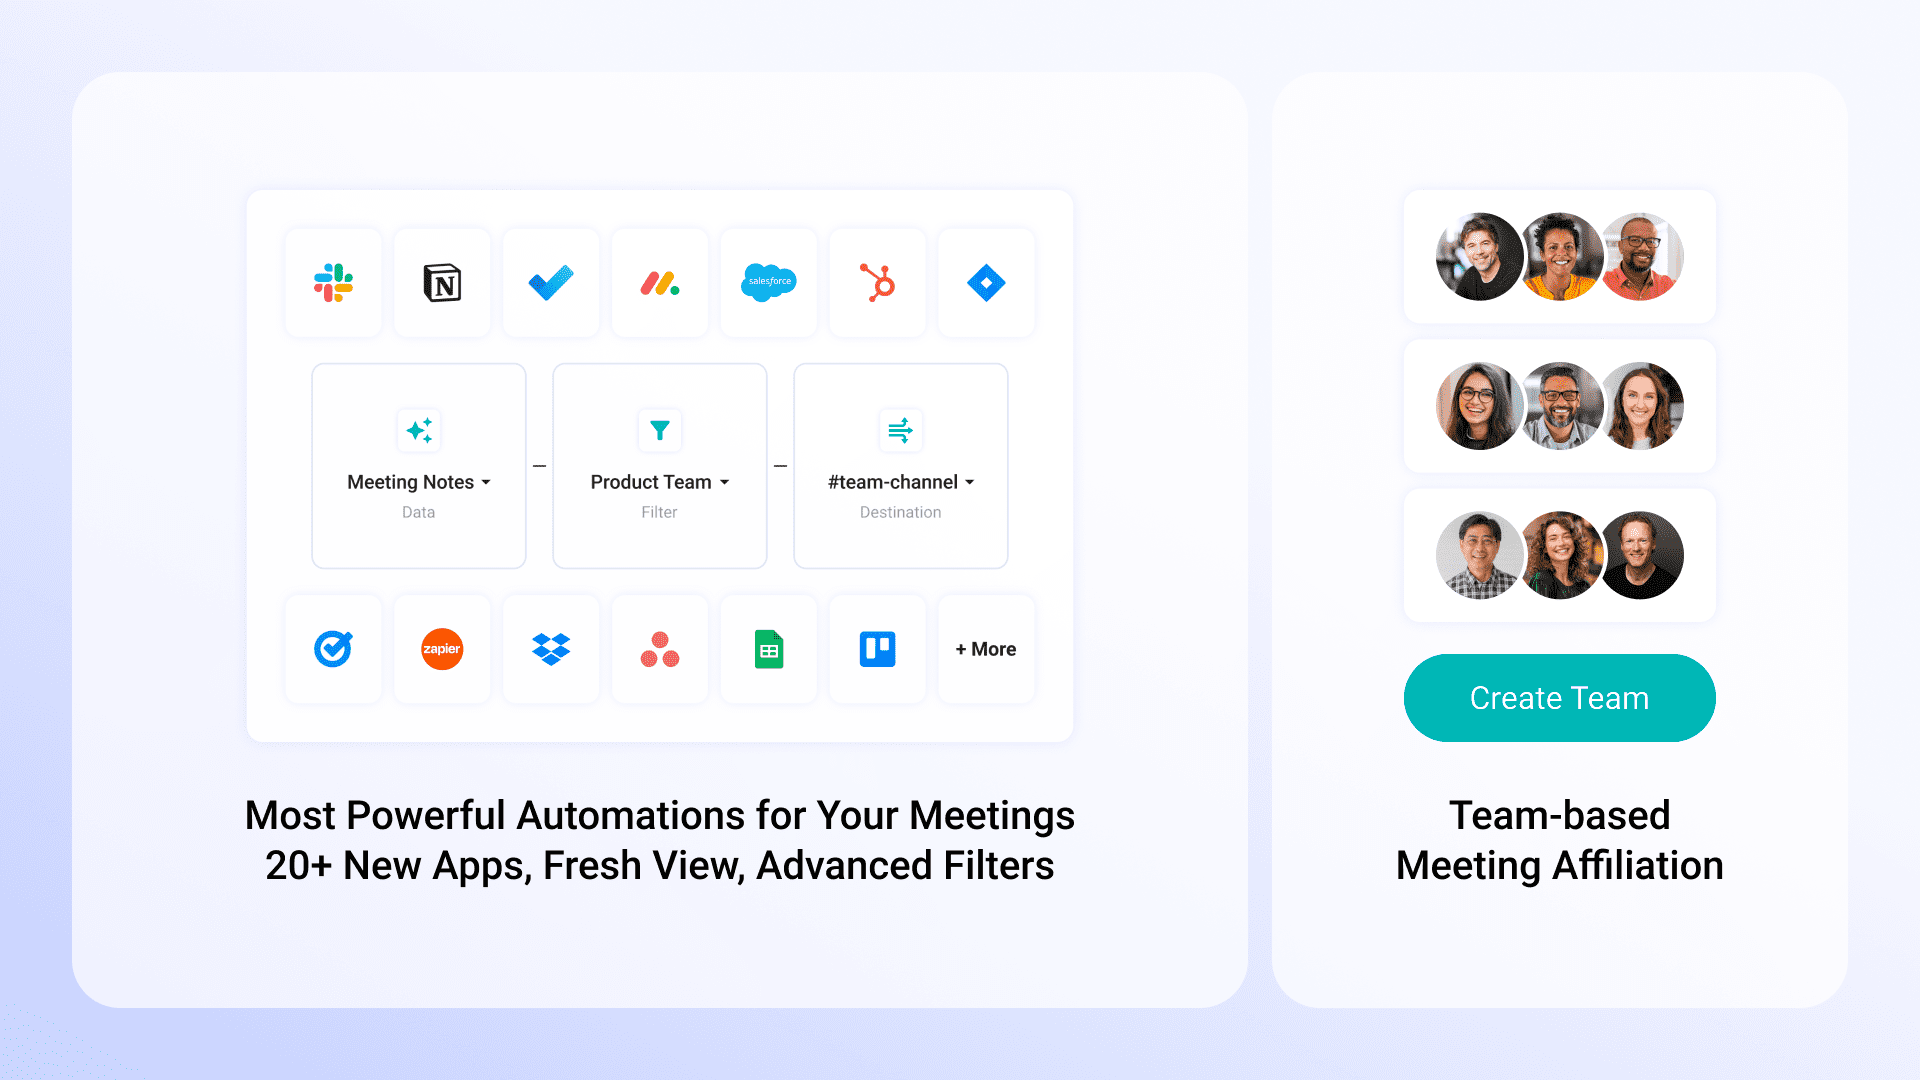
Sembly agent will join any call it is invited to, introduce itself, and record the call. It can even attend a call when you’re not there!
Invite Sembly to an ongoing or an unplanned call at a moment’s notice. Sembly works with all major meeting platforms.
Sembly is a recording and transcription tool designed for remote teams that helps you capture, store, and share important audio or video conversations. With Sembly, team members can easily record their meetings and access the recordings afterward to listen back, search, and share key moments with colleagues.
How to start a local recording
To record video on a Zoom meeting, the host must initiate the recording or grant permission to a participant to do so. During the meeting, the host can click the ‘Record’ button and select ‘Record’ on this computer from the menu, if available, to record video. The host will see a recording indicator in the top-left corner, while participants will see a different indicator. Dial-in participants will hear a message that the meeting is being recorded unless the host has disabled the feature. This will record video while on a Zoom call.
Once the meeting ends, Zoom will convert the recording, and the folder containing the files will open automatically. The audio/video file will be named video[random number].mp4, and the audio-only file will be named audio[random number].m4a. If the conversion process is interrupted, the files could become corrupted and non-recoverable. However, you can manually convert the recording if the process fails after the meeting. Zoom call offers different layouts for recording, including Active Speaker, Gallery View, and shared screen.
If you decide to rename the file after a conversion, using a unique file name is recommended, and avoid using terms such as Zoom, Personal Meeting Room, or My Meeting in the filename.
How to stop or pause a local recording
In Zoom, participants can ‘Pause’ or ‘Stop’ a recording during a meeting. If a participant stops the recording and starts it again, a new video file will be created for the next recording session. However, if a participant pauses the recording and starts it again, the recording will continue to be added to the same video file.
- To pause or stop a recording, click the ‘Pause’ or ‘Stop Recording’ button on the screen’s bottom. Alternatively, participants can also click the recording indicator in the top left corner to pause or stop the recording.
- When the recording is paused, a corresponding indicator will be displayed in the meeting. To resume the recording, click the ‘Resume Recording’ button at the bottom or click the recording indicator in the top left corner to resume.
- Once the recording has been stopped, the local recording files can be accessed on the participant’s computer.
If you’re looking to save time and streamline your meeting workflow, the new version of the Sembly Chrome Extension is a powerful tool that can help. You can invite other participants to the meeting, manage in-call agents, and even review the meeting content with just one click.
To start with Sembly, install the Chrome extension from the Chrome Web Store, and add it to your calendar when scheduling your next meeting. Once you’ve done that, you can enjoy the convenience of a one-click install-invite, which allows you to invite participants to the meeting quickly and easily.
After the meeting, you can use Sembly’s one-click daily meeting review to quickly review the content of the meeting and extract key points. With Sembly’s powerful features, you can save time and stay organized, making it easier to manage your meetings and maximize your time.
How to assign recording privileges to a participant
To give recording permissions to a participant in a Zoom meeting as a host, you need to click on Participants. Then, locate the participant in the list and click More next to their name. Click on ‘Allow Record’ from the options that appear to grant recording permissions to that participant. The participant will be notified of their recording rights, and a recording icon will appear next to their name in the participant menu while recording.
If you want to revoke the participant’s ability to record, click ‘More’ next to their name, then click ‘Forbid Record.’ The participant will be informed that they no longer have recording permissions.
How to change local recording settings
- Launch the Zoom desktop client and select ‘Settings.’
- Select the ‘Recording’ tab.
- This will display the recording preferences that you can alter through the client.
Note: Changing the default location to a cloud syncing folder like Google Drive, Dropbox, One Drive, network storage device, or external drive might result in issues with saving and converting the local recording. Zoom advises keeping the default location on a local drive for recordings.
How to record a Zoom meeting with Cloud Recording
Zoom Rooms enables cloud recording, which allows you to record your meetings’ audio and video on the Zoom Cloud. After recording, you can download and stream the recording file in your browser and send a link to the recording via email. You can also access the recording on the Zoom web portal.
To enable cloud recording for the Zoom account, log in to the Zoom web portal, click on ‘Account Management,’ select ‘Account Settings,’ and then choose the ‘Recording’ tab. Ensure that the ‘Cloud Recording’ option is enabled. If it is not allowed, click the toggle to promote it and select any other settings you wish to apply to cloud recordings. Optionally, make this setting mandatory for all users in your account by clicking the lock icon and then clicking ‘Lock’ to confirm the location.
To enable cloud recording for a specific Zoom Room, log in to the Zoom web portal, click on Room Management, select Zoom Rooms, and then click Edit next to the room you want to enable the setting. Click on the Meeting tab, then click recording. Find the Cloud Recording option and verify that it is enabled. If it is not enabled, click the toggle to enable it and click ‘Enable’ on the verification dialogue.
How to record multiple audio files
When recording a Zoom meeting locally, the host can save each participant’s audio as a separate audio file, resulting in one audio file for each participant. To turn on this option, follow these steps:
- Launch the Zoom client and go to ‘Settings.’
- Click on the ‘Recording’ tab.
- Toggle on “Record a separate audio file for each participant.”
- Start and record the meeting on your computer.
- After the meeting ends and the recording has been processed, access the recording folder.
- In the folder, locate and open the “Audio Record” subfolder.
- Each participant’s audio file will be listed separately and named after the participant.